Saturday, May 12, 2012

Transformer Birthday Party

This past February, my oldest son Madden, turned SIX! Well, since the third Transformer Movie came out last summer, my boys have been obsessed! So I knew a LONG time before his party that we'd be doing a Transformer Theme.

Now if you know me, you know I DO NOT do a store bought birthday normally. However, this time around, I came across ALL the Transformer Birthday Supplies at Target on Clearance. Well, I bought it all. . . Dinner plates, dessert plates, napkins, masks, hats, banners, invites, wall decor, table decor, goodie bags, etc. And I didn't even end up using most of it in the end.

A couple weeks before his party, I was starring at the Dinner Plates and felt so un-creative. I just wasn't satisfied with a Store Bought Party. Its just not for me.

I noticed that there were gears on the border of the plate. I decided to run with it. Chose a main color scheme (yellow, red and gray) and I was on my way.


 One of the things that I did in fact use and was very excited about was the 6 foot Optimus Prime that we got for FREE (yes, that word still exists) from Shopko. Now, don't tell them I told you, but all they do with those giant cardboard displays from movies is recycle them. So if you go in and ask, most likely they will be happy to have you take it. We ended up using it for Popcorn bags.  


One of my favorite parts of this party was the "Refueling Station". If you have children, this table may look vaguely familiar. That is because it was a changing table. One of the old fashioned spindle kinds. I bought it for $5 on Craigslist. It was brown and ugly.

Using a jig saw, I cut the top front and back rail off. I also cut out all the spindles in the middle of the 4 main corners. Does that make sense? Then a quick coat of Metallic Spray Paint and I had myself a beverage table/dessert table, etc.

The Gears above the table are nothing but poster board cut out and taped to the wall. But it really dressed it up. I also made some mini bunting flags to hang from the front of this table. I really think its all the little extra things that separate good party decor to AMAZING party decor.


The plastic goody bags that I bought at the store are sitting in a box - unused. Instead, I bought silver paper gift bags at my local party store. Then, to dress them up, I simply printed out a little card done in photoshop. Using the Autobot symbol and Transformer Font, it said "Thank you for Transforming Madden's birthday into a great one!" I also printed out gray gears and hung them on the handles. Just another little special touch. Serves NO purpose whatsoever, but still awesome!


Here is a view of the whole room. Complete with handmade bunting flags. I will post a tutorial on how to make them soon.  They are so simple though, it is just crazy. Its hard to see from this photo, but I used 3 different fabrics for the bunting flags, all in the red, yellow and gray color scheme. I was lucky enough to find Transformer Fabric at my local Walmart. Then i found a gray and white polka dot fabric and a red and black patterned one.


For the Family Party that night, we pulled out the water bottles and pop instead of the juice that we served to the little men. The labels on the water bottles are again, so easy to do and is just another added touch.


Happy Birthday Madden! I am so blessed to be able to see you "Transform" into such a wonderful little man!

Printables | Hollywood Food Labels

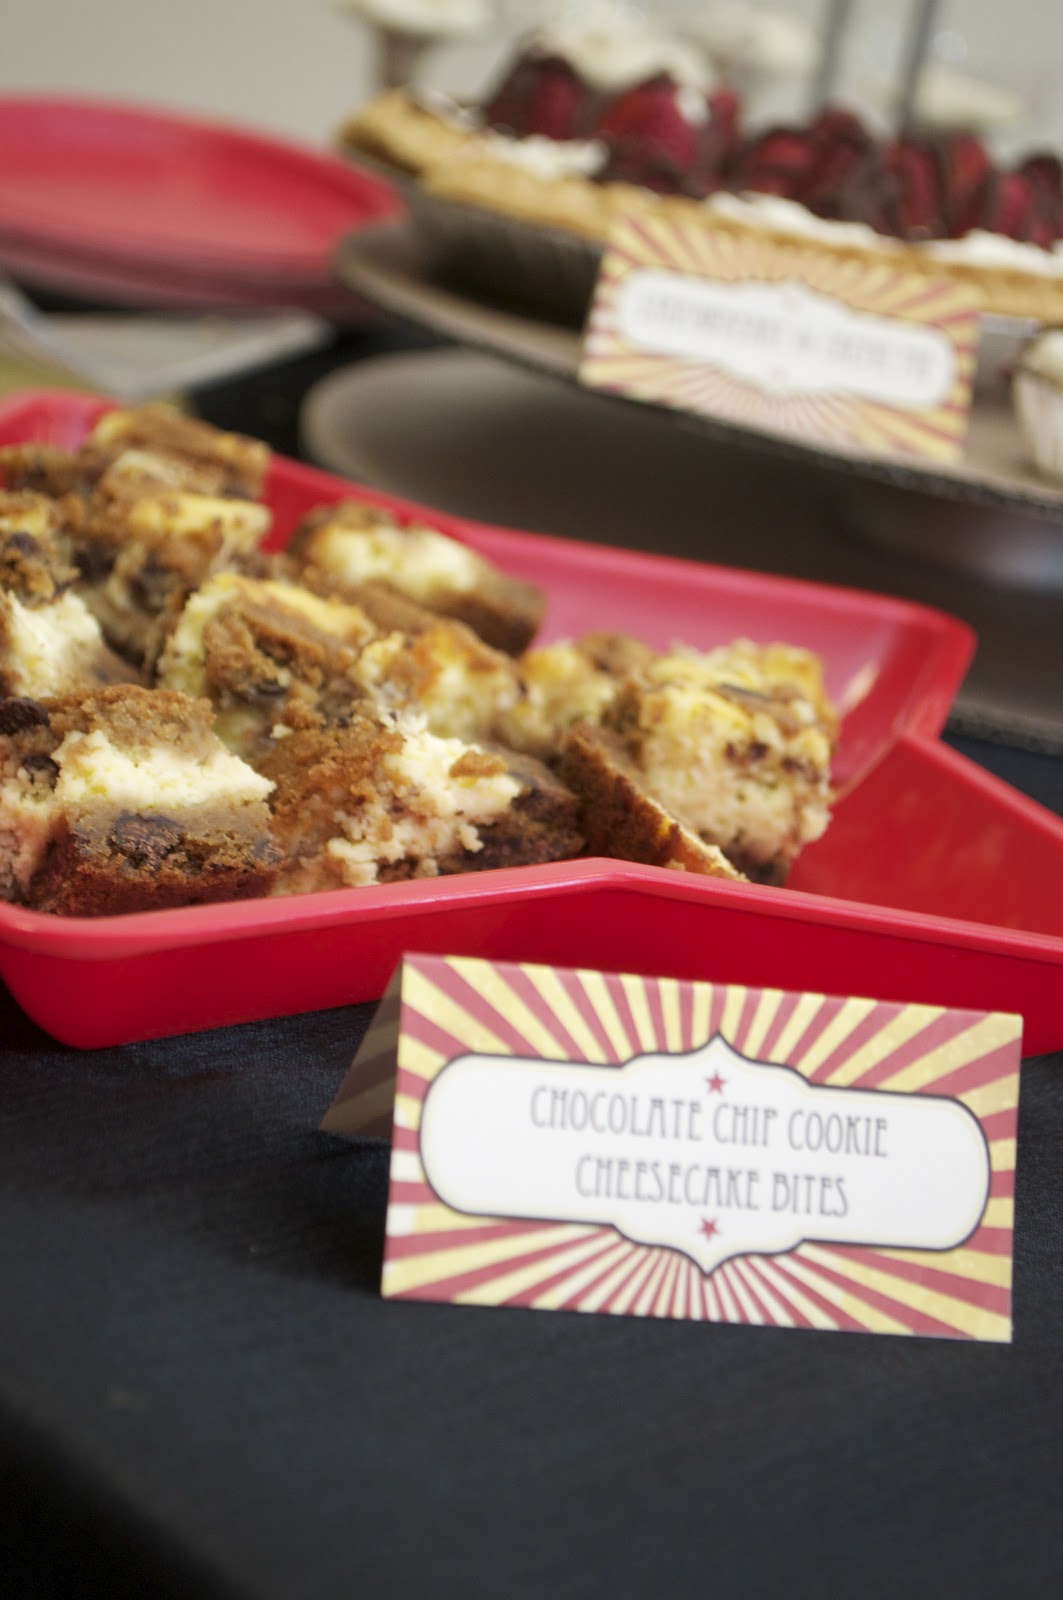
The food labels that I used for the Hollywood themed dessert table were from {here}.


All I did was download the PDF version given on the site. Save it as a jpeg file and then pull it up into photoshop to add my font. Then just PRINT!


I am a firm believer in having food labels. Not only do they give it a finished look, but they serve a very important purpose in telling people what they are about to eat. There are SO many food allergies out there. And I would never want to be responsible for someone eating something they shouldn't and sending them into anaphylactic shock. Nope, that wouldn't not be good.

Sometimes I like to make up funny names for the food to go with the theme. But I always try and put in smaller font what is IN the food as well. Normally at my family parties I don't have to be as careful as I know that no one is allergic to anything.

Friday, May 11, 2012

Ken Doll Oscar Statue | DIY

Supplies

Plastic "Ken" doll
Gold Spray Paint
Black Spray Paint (arousal can) CAP
Two Small Screws
Screwdriver

This was my favorite part of the Hollywood Themed Decorations. Maybe because it was so funny, but it definitely helped the look of the table and was a great eye catching center!

I have three sons. So as you can guess, I didn't exactly have a "Ken" doll laying around. So I thought I would check out the store to see if they had a cheap one (I was thinking like $5-$7 cheap). Well, they did. However, the ones that they make now, have hair. Like actual hair, not plastic. So that won't work.

So my next option was Goodwill. And lucky for me, this guy was laying in a bin along with a bunch of naked girl Barbies (lucky guy). All mine for a whopping $1.99.

The rest is easy. 

Spray paint him, front and back with your gold spray paint. Make sure to move his arms so that you don't have "hand marks". 

I then drilled two little holes into the cap of the black spray paint. I also drilled the same holes into the bottom Ken's feet. Then just take your tiny screws and secure him in! Wala! That's it!


Thursday, May 10, 2012

Cardboard Movie Reels | DIY


Supplies | For ONE reel

two cardboard pizza rounds
empty cardboard ribbon spool
elmers glue
paint

Ok, so I am lucky enough to have a family business that I can go to if I ever find myself needing the cardboard circles used under pizzas. "he he" So I marched myself over and picked up four 12" rounds and four 14" rounds. If you don't have a family business to get these at though, I'm pretty sure that you could walk into any pizza restaurant and ask for them. I'm certain they wouldn't have any problem selling them to you for a couple dollars.

And as far as the other supplies needed, an empty ribbon spool is easy to come by. You can either be like me and save all mine just in case I would ever need them for a project such as this, OR you can go to a craft/fabric store and ask them if they might have any or if they don't, they will probably hold them for you when they do.

So, you could make these any size, but I chose the 12" and 14". 

Take two of them (same size obviously) and your empty ribbon spool. Glue one round to your empty ribbon spool, trying get it as centered as possible. Then, flip it over and glue the other side to the second round. Easy as that. 

Now, you could hand paint them, but I choose the faster and "cleaner" in my opinion way of spray painting them. So spray them all silver, gold, pink, purple . . . whatever color you want, basically.
I didn't bother flipping them over to spray the bottom as mine will be sitting on a table. But if you were planning on hanging them from the ceiling or leaning them upright in some way, I would recommend painting them entirely. 

When the spray paint was dry, I simply found a circle to trace (in my case, it was a disposable plastic cup) and traced circles all the way around it and in the center. You could do 4,6, or 8, depending on how large your circles are. For this one, I did 6 and then a center. Then I just hand painted the circles using a darker shade of my main color. And there ya' have it!

I ended up doing the 12" ones in silver/gray and the 14" ones in a bronzy color.


Hollywood Themed Dessert Table

So this past week at my son's school, it was Teacher Appreciation Week. Every year, during this week, the parents and students do all kinds of special things for the Teachers and Staff that work so hard at providing such a wonderful learning environment for our children. This year's theme was the Hollywood Academy Awards!

Since my oldest is just in Kindergarten, I haven't been involved in too many of the larger events at school . . . yet! So I had never been a part of the Teacher Luncheon that they put on.
But when the sign up sheet went out via e-mail, and I saw that there were three desserts that needed to be made, I signed up for all three. Figured since I haven't done all that much I will do all of them.

So I was already excited about that, but then decided to take it a step further . . . and what better way to "do up" desserts than to have a whole dessert buffet table. Themed of course!

When I got the "ok" to run with this, I started looking online for ideas. Cuz, lets face it . . . everyone does it! Believe it or not, there weren't a ton of ideas out there for Hollywood themed dessert tables. But I did find a few individual ideas on Pinterest {here and here} and I knew that I wanted to stick with a color scheme of red, gold, black and silver. Glamour!

So here is what I came up with using a lot of what I already had and a lot of what I made!


Pretty awesome, huh!

Now to explain the DIY parts of this dessert table . . .


Friday, November 4, 2011

Another blog?

No one will be reading this post for quite a while, but I'll write it anyways. I'm starting this blog to share all my crazy diy party ideas with the world.

I may have an addiction. To party planning! Seriously. I take it super serious and go over the top EVERY time. Sometimes I stress way too much over little things. People always tell me I'm crazy for going to "overboard" but I don't think so because I LOVE LOVE LOVE doing it!

Each party/event is fun to plan and I really do enjoy it!

This blog is not going to be launched for a while. I want to really get it all set up and have several posts before launching it so you'll have all kinds of fun stuff to look at and hopefully be inspired by.